Sew the Library - The Shirt Tales Apron
/This is the second month in my resolve to sew at least one item from one of the books in the library. This month I have chosen Kitchen Stitches by Karen M. Burke.

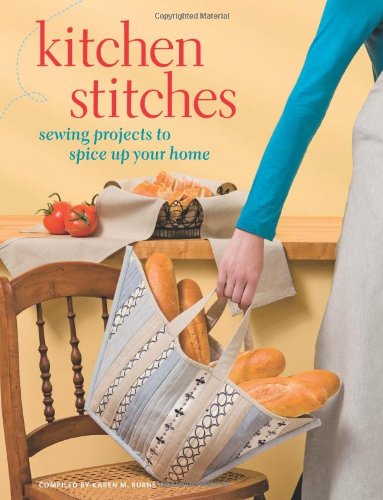
I originally bought this book because of another project.- the slow cooker cozy. I am a big slow cooker fan especially for potlucks.and I thought this would dress up my presentation. My idea was to finally make this project for the challenge. But when I was leafing through the book the section on the Shirt Tale Apron caught my eye. I had seen these on Pinterest. The project is to up-cycling a men's shirt into a cute apron. I had even pinned it with the idea of doing that project one day. I needed a few hostess gifts to take with me on my trip and I this would be perfect for my daughter-in-law, Ginger, in Albuquerque, NM. So it was Kismet! That is how I came to make this stinkin' cute hostess gift to take with me on my trip.

After: Shirt Tale Apron
The project calls for one large or extra large men's button-down shirt. It did not say but I think its best to use a 100% cotton shirt. A polyester shirt would work but it is more difficult to get kitchen stains out of polyester. I had a long-sleeved shirt that I had purchased in my local thrift store a long time ago just waiting for me to start this project.


The apron form was easy to free from the shirt by cutting as directed in the book. The trick is to cut away everything that is not the apron. I am a bit of a pattern hack so I did a few things differently. The directions say to "Carefully trim along the lower edge of the back of the collar band..." and then later it says to use a fray preventer product if this edge shows signs of fray. I followed the directions at first. But upon reflection I decided to open the back edge of the collar and remove that portion of the shirt yolk. I don't like feel of a product like FrayCheck against the skin. I knew I would not like the feel of the FrayCheck on a piece that was hanging around my neck.

Opening the back edge of the collar and removing the leftover fabic
It went quite quickly. I've had a lot of practice with a seam ripper so this was not difficult at all! want quite quickly. I opened it up about 1 - 1/2 inches past the edge where the armhole would be attached. This allowed for a nice clean intersection in this area.

Intersection of the armhole edge with the back edge of the collar
The directions also said to press under a 1/4" hem being careful not to stretch the bias edge. I decided to run a 1/4 inch stay stitch along the edge. Stay stitching is a better safeguard against stretching the bias edge. I could also use the stitches as the perfect guide for turning under the 1/4" hem. I stay stitched the sides for the same reason.

Armhole with 1/4" hems
The directions said to cut the ties 3-1/2 X 25 inches. I hate apron ties that are too short for a nice bow. So I wanted to make the ties a little wider and longer. My ties ended up being 4 X 34 inches. I joined the two pieces on a 45% angle. I used the same method of stay stitching the edges prior to ironing in the hem allowance.

apron ties joined at 45% angle
I also added little tucks where I joined the ties to the apron as I wanted to make it a little more "girlie."

Where the ties join the apron
I love the way the apron turned out. I am excited to gift it to my daughter-in-law. This is a great project for recycling and re-purposing. It makes a unique gift. I know that Ginger will love it and use it.

The apron Hanging out in the kitchen
I have scraps left over from this project - two long sleeves in particular. The book suggested using the scraps to make a ruffle or fabric flower for the apron. Another alternative was making a hot pad or using them to decorate kitchen towels. None of those suggestions appealed to me so into the scrap basket they went. I have no idea how I will use them but a little surfing on Pinterest could just do the trick. Look for a scrap buster project in the near future!
Join the Link party at Weekend Doings.